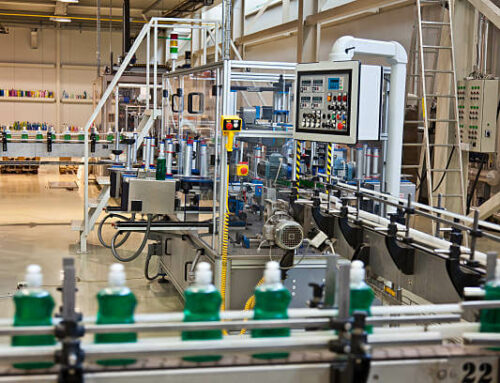
Consumer goods packaging means all packaged products made of any material or combination of materials used to accommodate, protect, market and handle retail consumer goods. This also includes delivery packages containing a variety of products for consumers to purchase directly.
1. Decide on primary packaging
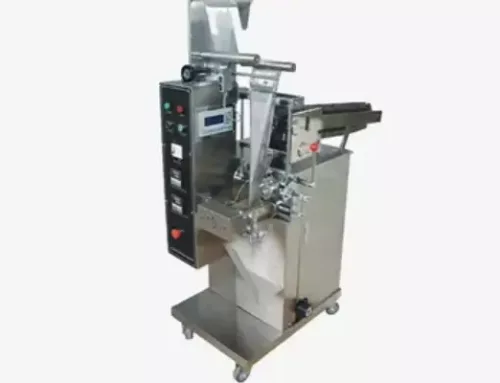
If, like most of my skincare lines, your products need to come in bottles, jars, or some form of primary packaging, you should first seek advice from your lab or manufacturer. They’ll know which material—whether glass or plastic—is best for your formulation. Many labs offer stock packaging, but you can also work with an outside packaging company for more options and custom features. In general, using the lab’s stock packs is the most affordable option. The prettier your packaging, the more expensive it will be. Add-ons like custom bottle sprays and metallization will add to your cost. A fully machined custom package will be more expensive.
Initially, I used The Lab’s stock packaging – basic, but quality glass bottles and jars – for my skincare line. This packaging has served us well for many years. Now that we are more mature, we are investing in custom packaging to give our brand a more luxurious look and feel. The point is that stock packaging is a great alternative to new brands. Rather than making a fuss about custom packaging, talk to a designer about upgrading the look of your stock packaging with labels—more on that later.

2. Test your primary packaging
If you are developing a cosmetic or a product with unique ingredients, you need to test the packaging for compatibility. This testing ensures that your recipe works perfectly with the material that houses it. For example, some products require airtightness. Other products cannot be packed in plastic as they contain ingredients that will corrode the plastic. All of these are things your lab will be testing for. If you source your package from an external supplier, you will need to provide your lab with some samples of your package so they can perform compatibility testing.
There are a few other questions you’ll want to ask yourself during the testing phase. Is your primary packaging prone to breakage? How does it hold up if you send it to yourself? Does it leak? Is it easy to dispense the product? How will it look on the retail shelf? Will it stand up without drilling the fixing holes or will it tip over on the shelf? Asking these questions at an early stage will save you the hassle of repackaging later.
3. Understand labeling requirements
If your product falls under a regulatory agency such as the FDA, you need to understand labeling requirements before designing a label or box. For example, in cosmetics, you must state the net weight of your product on the packaging. If you plan to sell your product in the EU or Canada, additional labeling requirements must be added to your product, such as a best-before date.
While most of the important labeling information can be found online, it is often worth hiring a regulatory consultant. This consultant can help determine if you should include any warnings or disclaimers on your packaging and ensure your labels have everything you need to stay compliant.
4. Find a designer
If you don’t have the right graphic designer, now is the time. There are tons of talented freelance graphic designers who are the secret force behind many of the packages you see on the shelves. Use your network to make recommendations, send some inquiries, and review a large portfolio before deciding on a designer. You will need to hire this person to create labels for your primary package, design your secondary package (outside box), and any shipping materials you plan to send to customers. Hire in-house only if you have enough work and budget.

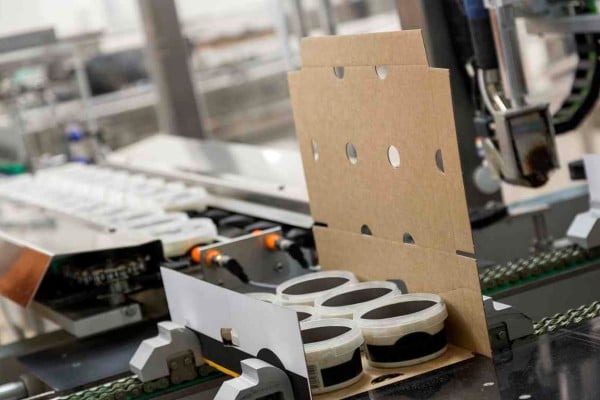
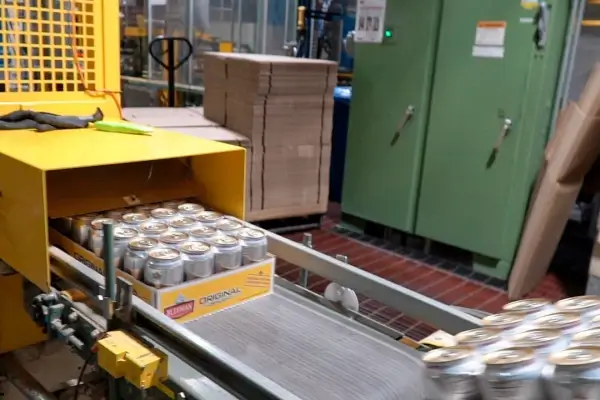
5. Select a box
Once you’re ready to design your outer box, you’ll want to find a print shop you trust. Your printer will design the structure of the carton – sizing the carton to fit snugly around your product and designing any additional inserts that may be needed inside the carton to keep your product secure inside. Get some samples and test your product in-house. Send it to yourself, drop it, shake it. Does the box protect the product?
6. Design a box
Now that you have the basic structure of your carton, it’s time to design it. Keep your designers in touch with your printer so they understand what’s possible and what’s not possible from a design perspective. Most packaging designers have experience working with printers and know what questions to ask during the quoting process.
Together you will look at different samples of papers, finishes, and inks. Specialty papers and inks, hot stamping, and embossing all add to your costs. Most print shops will provide trial run samples free of charge. When testing samples, be sure to ask how the box will age if left on a shelf. Will the ink fade over time? How easily does paper get smudged by fingertips? How fragile is the paper – will your carton edges be crushed in transit?
In addition to primary and secondary packaging, you also need to consider whether you need to add any inserts to your product. This is a great place to put long instructions and warnings that are critical to the safety and use of the product.
Leave A Comment